
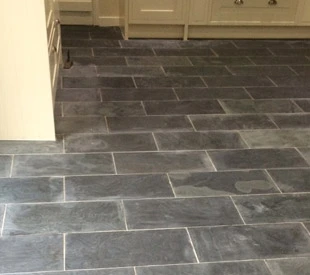
 Basically a metamorphic rock, slate is a natural stone, which is extensively used in the construction industry and architectural designing all over the world. slate flooring, roofing, and wall cladding are its most common applications as dimension stone.
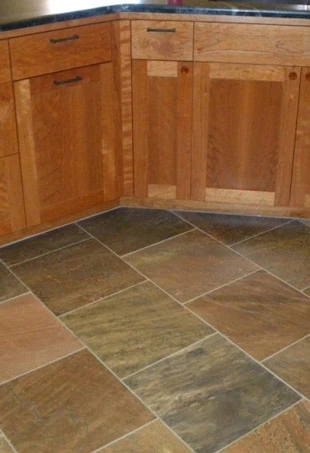
India is a major producer and supplier of slate in different colors like black, pink, red, gold, yellow and green. In case you are looking for high-quality slate for home or office renovation, you can contact Regatta Universal Exports – a 17-year-old manufacturer and exporter of slate from India – which ensures lowest price, hassle-free proceedings, dedicated customer support, safe packing and transportation, and on-time delivery of slate products in any corner of the world.
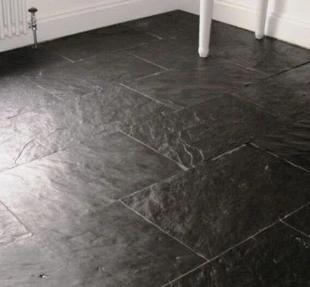
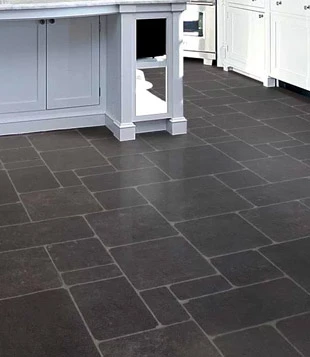 Slate flooring is very popular around the globe and imparts a unique look to any interior space; be it the living room or kitchen. It is quite rigid and performs well for years. Nevertheless, over time, installed slate flooring it loses its finish and appears to be dull and bland after constant use and hence, needs to be restored after regular intervals.
Fortunately, restoration of the slate floor is not a tedious task and can be easily performed by its owners themselves. Several things that are required for its restoration are given below:
- Tile cleaner and stripper
- Warm water
- Soap
- Applicator
- Stone enhancer
Without any professional help, you can easily perform this task by following the below-discussed steps:
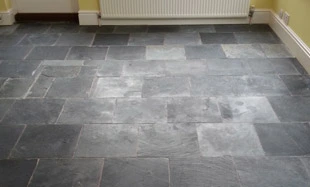
 Cleaning the Floor: Prior to the actual slate floor restoration work, the floor has to be thoroughly cleaned. Remove everything from the floor; and using a soft broom, sweep out all the debris and dust from the slate floor. Thereafter, vacuum cleans the floor by focusing on corners and edges of slate tiles to suck in dirt particles that have settled deep inside the spaces between the tiles. This will make the floor completely free of dust particles and prepares the slate tiles ready for the next step.
Stripping Off the Sealant: If your slate floor had been previously sealed, you may observe that it is now slightly worn out due to continuous footfalls. In such cases, you would require to completely strip off the entire sealant. A tough cleaner and stripper are needed to serve this purpose. To take off the sealant, use a soft scrub brush. This process is a bit time taking and should be repeated many times; if required. One should cover the entire floor with special attention to the edges and corners. Once you are done with this, rinse the complete floor with water and allow it to dry overnight.
 Using an Enhancer and Sealer: To re-seal the slate tile floor, a slate-specific sealer or enhancer is needed that you can easily get from a nearby hardware store. A special applicator like lamb’s wool is required to apply the enhancer on the slate tile floor. You can also use a mop to apply the enhancer. Apply it gently and wait for some time so that it holds the tile surface. Now use a soft cloth to remove extra enhancer from the floor before it dries on the surface.
 Applying the Second Coat: A second coat of the sealer should be applied immediately after the first one. Gently rub it on the entire floor and wait for a few minutes before removing anything in excess. Thereafter, before re-using the floor, it should be left untouched overnight. The slate flooring is now completely sealed and ready to be used for at least the next six months.
By following such simple steps, you can easily and affordably restore the good looks and finish of your slate tile floor. Nevertheless, it is always recommended to be a little careful while performing the above-discussed steps as this would prevent you from causing any unexpected damage to the slate floor.
 Marble is a globally preferred construction and interior designing material and known to be used for ages. Extensive use of marble in numerous edifices, monuments, and historical buildings worldwide testifies its popularity in almost every phase of history. Incidentally, marble tiles are relatively a porous and soft stone and may get damaged if not handled properly. Flooring is a popular application of marble and chances are pretty high that it might get chipped or cracked if anything heavy falls on it. But, this should not be a major concern as any crack or chip on marble tiles floors can be easily repaired without spending much.
 Two-part clear epoxy
 1. Preparing the Surface for Repair: Unlike scratch removal, this doesn’t require much preparation like finish removal and thorough cleaning. Instead, it needs very minimal surface preparation. The hole or gap in the damaged
  2. Replacing the Chunk: If you have the detached chunk of the marble then this will ease out your work. In fact, marble does not split into tiny pieces and repairing the crack becomes easy when you know how exactly it has been caused. For this kind of repair, a marble or stone-specific adhesive is needed. The process is also quite simple and requires applying adhesive to both the chunk and hole, and then placing the former inside the latter. Gently press it inside and wipe off excess adhesive.
 4. Final Finishing: Sealing the spot of crack or chip with polyurethane can be done after the epoxy sets. Put some polyurethane in a small bowl and apply it on the epoxy surface with a micro-brush.
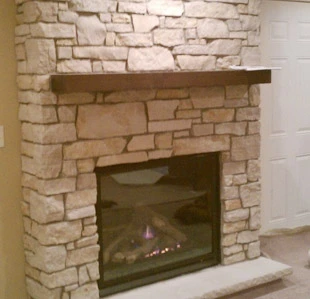
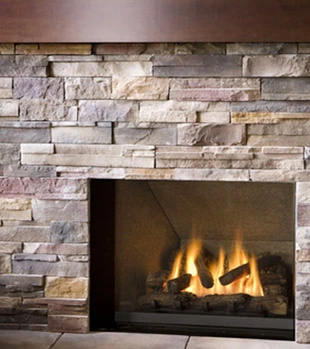
 Roofing is one of the most preferred applications of slate across the globe. Nevertheless, wall cladding and flooring are its other major applications that are also very popular across the globe. Indian has large deposits of export-quality slate and nothing can be better than contacting the 20-year-old Regatta Universal Exports for all your slate-based roofing, wall coverings, and flooring solutions. With Regatta Universal Exports, a leading manufacturer and exporter of slate from India, you can be assured of high product quality, dedicated customer service as well as safe and timely deliveries of finished slate roof tiles and products.
 Slate offers a long-lasting and durable roofing solution and is preferred by many homeowners and designers all over the world. Apart from being strong enough to resist environmental elements, it imparts a natural look to the exterior of any property. In fact, slate shingling is so enduring that
  1. Checking the Shingles:
 2. Replacement of Shingles:
 3. Replacement of Flashing:
 Sandstone is not the just a popular construction or architectural designing material, but a highly versatile natural stone when it comes to interior applications. Mostly used in exterior designing, sandstone is used to make pavements, walkways, decorative articles, statutes and as feature walls and exterior wall covering. A sandstone wall is quite strong and functional. Easy to carve and cut, it can be given any desired shape and design with utmost ease. Apart from its availability in numerous rustic shades that become more eye-pleasing with natural aging and weathering, sandstone’s ability to absorb water and naturally anti-skid surface make it apt for outdoor use.
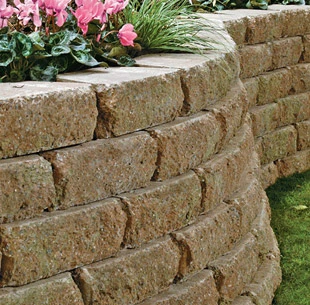 Since India is a world leader in sandstone extraction, processing and global supply, it is currently one of the best markets to get quality sandstone products at affordable prices. While searching for a sandstone exporter from India, it is highly recommended to put a thorough check on the background and current status of the same in the international sandstone export market. Regatta Universal Exports, a leading manufacturer and exporter of sandstone from India, has a rich experience of more than 17 years in supplying quality sandstone products in various countries across the globe. In multiple colors, these products are not just available in desired size, design and finish, but offered at very competitive prices. With Regatta Universal Exports, you can be further assured of highly responsive customer service, timely deliveries along with safe packing and transportation.
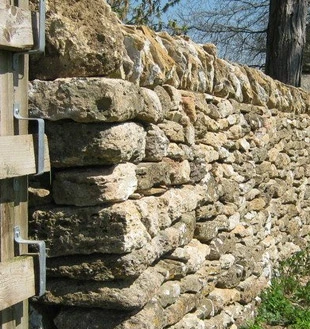 1. Support the Backfill: This is one of the best ways to support your sandstone wall by covering one of its sides with soil. This will give an impression of a hill, which can be further used to grow a range of flowering and decorative plants. For this, you would require to dig a hole at the base of sandstone wall that has to be covered with soil. At the bottom of this hole, you can use gravel stone or large rocks. Use the soil removed while digging the hole to place them on the top of the rock or gravel and press it against the sandstone wall. Use more soil from some external source to the backfill up to the top of the wall.
 A concrete support can also be used to support the sandstone wall. Begin by digging the hole as described in the above and then filling its base with rock or gravel. A frame has to be constructed to support the concrete until it dries. You can make use of some lumber to build the supporting frame. Nail it wherever required to develop a three-sided frame structure. Make sure that one side of the frame should be of the length of the wall you want to support, while the rest two sides should be of nearly similar size that will hold the concrete against the wall. Insert one of the open ends inside the hole and force the shorter ends against the sandstone wall. With the help of a spirit level, you can confirm the flatness of the frame.
 b. Pouring the Concrete:
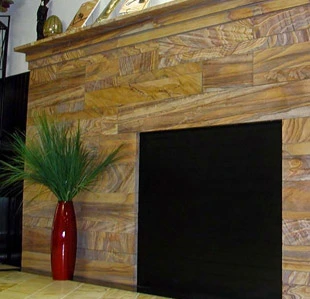
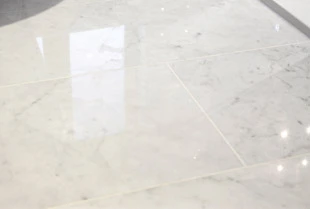 Marble tiles are a great material to decorate any home and can be tastefully used to adorn your interior spaces like bathrooms, kitchens and living spaces. It is a durable natural stone and can last for decades after installation with proper care and maintenance. It requires cleaning as well as buffing on a regular basis, so as to maintain its natural beauty and finish. Similar to other flooring materials, marble is prone to discoloration and scratches that could hamper its finish after prolonged use. However, bringing back the marble finish is an easy task and can be performed using simple cleaning products and tools that are mentioned below:
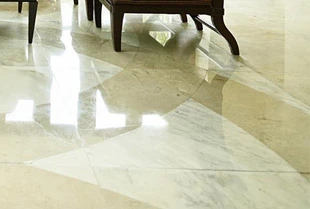 2. Buffing the Surface:
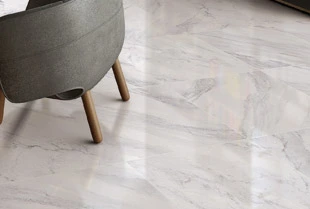 3. Cleaning the Buffed Area: Pour some generous amount of water on the buffed marble surface to wash off excess compound. Thereafter, wipe the whole area with a dry terry cloth towel. Since grinding or buffing process causes a lot of compound and water to spatter all across the marble installation area, it is suggested to thoroughly check the fixtures and surrounding area. Excess compound should be removed from such spaces using a wet towel. Let everything dry before heading to the final step.
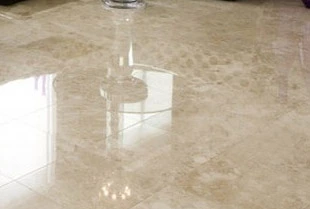 4. Applying the Sealer: Once the refinishing is done, seal the marble by using a soft paint brush. This will make the marble surface less porous and provide resistance to minor stains and scratches. In case you are opting for a chemical compound, make sure that you are buying a genuine product, which is exclusive meant for sealing marble. Reading the instructional manual of the sealing compound is also important to avoid any unexpected damage to marble tiles. Though single coat is more than enough, it is still recommended to apply two coats. Apply the second coat only when the first coat dries out completely.
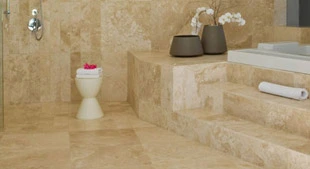 By following the above easy-to-perform steps, you can bring back the new look of your marble tiles. This further confirms long life of marble floors and keeps marble installation spaces appear more appealing.